Open the photo you wish to do selective color on.
Duplicate the layer by choosing Layer>Duplicate.
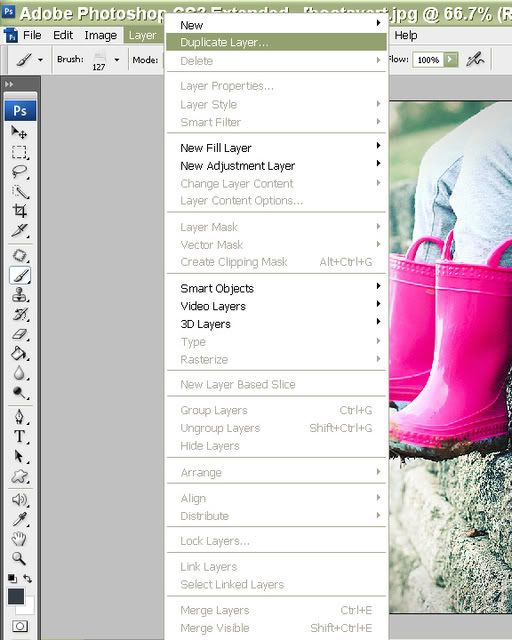
No need to name the layer, but you can if you want, and click OK.
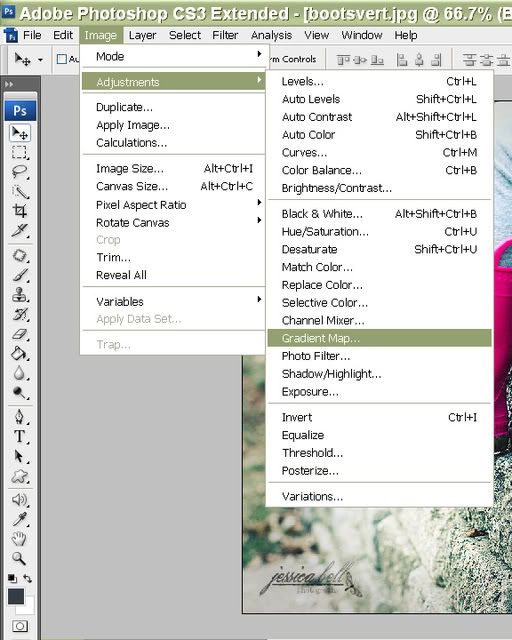
Go into Image>Adjustments>Gradient Map.
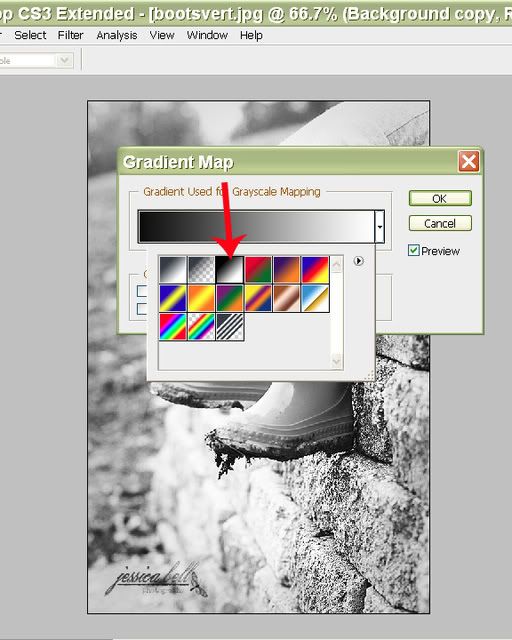
Choose the Black/White gradient. This will turn your entire photo b&w but don't worry! We'll bring the color back in the next step!
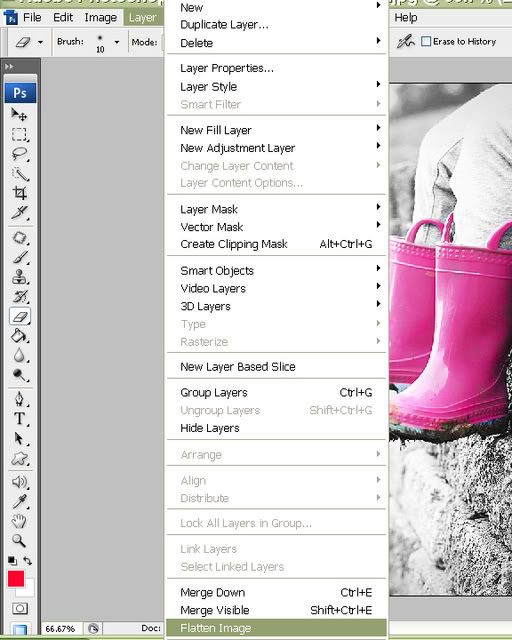
Now select your Eraser tool. Adjust the size according to the area you wish to bring the color back on. I set the hardness of the eraser to 0 and I usually lower the opacity of the eraser (at the top of the page) to around 50% because bringing back 100% of the color is usually "too much", but it's up to you and your taste!

Start erasing over the area of the photo you wish to return to color (I normally zoom in while I do this to be more accurate). Take your time, it's a bit tedious but if you take your time and be more precise it will look much better!
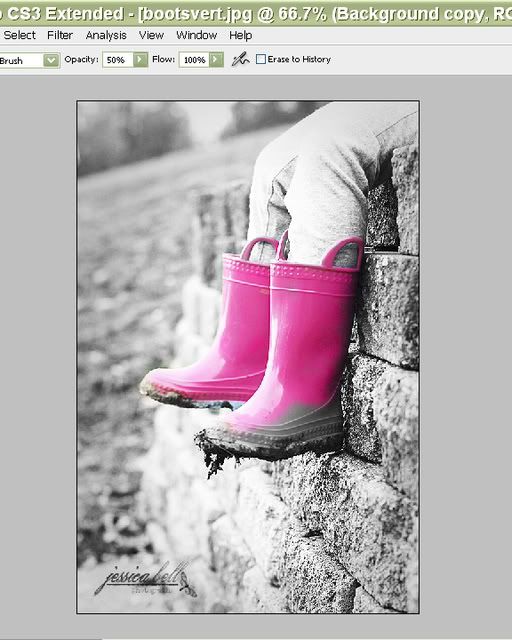
Once you are done erasing and you are happy with how it looks, just flatten your image and save!
